
Last time, I made some really delicious Dark Chocolate Ice Cream w/ Candied Orange Zest. It was a bit of an experiment, as I had made neither chocolate ice cream nor candied orange zest before. I was pretty satisfied with the results, although there was certainly room for improvement, as discussed in the post.
For my next ice cream experiment, I decided to make one of my all-time favorites: Salted Caramel Ice Cream. I love sweet and salty combos, and when made well, this ice cream is just one of the best around.
The recipe that I found from Serious Eats comes from San Francisco-based Bi-Rite Creamery’s very own Salted Caramel Ice Cream, and it makes a really delicious version of this classic ice cream.
Making the Caramel
The first step to making this ice cream was to make the caramel. This was my first ever attempt at making caramel, and it came out looking and tasting great.
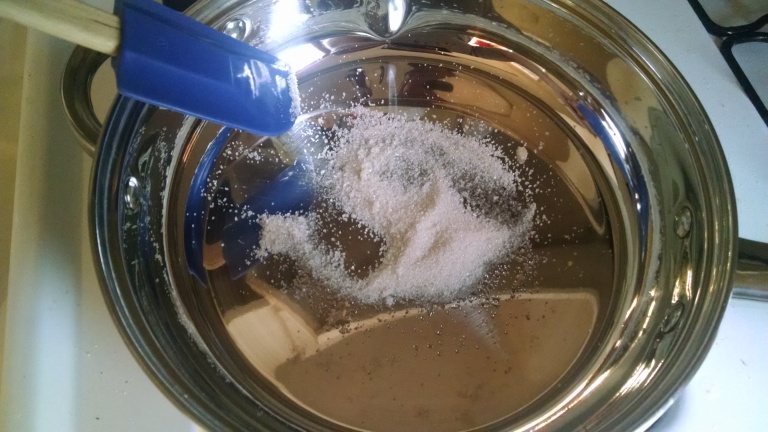


Making the Ice Cream Base
Once the caramel was thoroughly melted, I stirred in the milk and salt. In a separate bowl, I then whisked together the eggs and remaining sugar and began tempering the warm milk/cream mixture into the egg/sugar mixture a little bit at a time.
Once the egg/sugar mixture was properly tempered, I added it to the milk/cream mixture and cooked the ice cream base until it reached approximately 160ºF. Finally, I strained the mixture into a tupperware container and allowed it to chill in the refrigerator overnight.
The next day, I made the actual ice cream using this recipe.

Observations / Improvements for next time
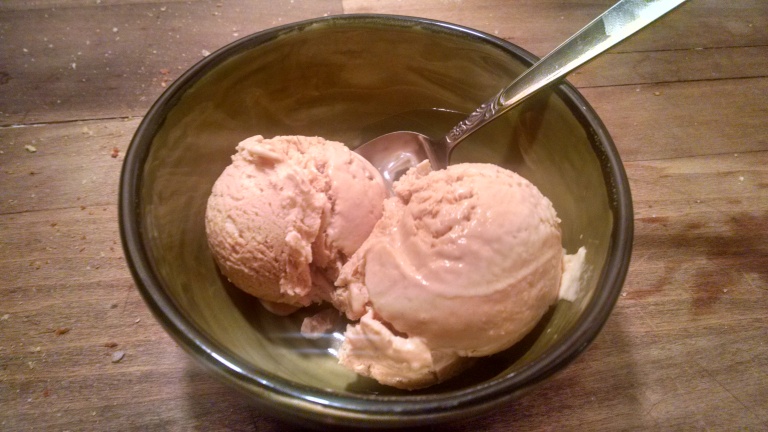
In my previous experiments, I’ve whisked my ice cream completely by hand, resulting in ice cream that was a little bit too icy for my taste. However, I recently purchased a hand mixer, and it has made all of the difference. When this Salted Caramel Ice Cream came out of the freezer the next day, after being whisked several times with a hand mixer the previous day, it was creamier than any of the ice creams that I have made so far. Perhaps this is partly due to the presence of caramel (sugar prevents ice crystals from forming, as we learned in a previous post of mine), or maybe its the higher cream-to-milk ratio called for in this recipe (more cream = more fat), but there was a huge difference in texture.
Since I started making ice cream, I’ve come to realize that I love really dense, creamy ice creams. I think that I will continue to utilize the roughly 2:1 cream-to-milk ratio called for in this recipe for future batches of ice cream in order to continue to achieve that delicious creamy texture.
One negative thing that I noticed about this ice cream is that it leaves a noticeably waxy film on the roof of my mouth, as well as on the spoon. After doing some quick research, I’ve found that there’s 3 potential causes for this:
- I over-churned the ice cream mix, causing butter to form
- the fat content I used was too high (too much cream)
- I cooked the ice cream mix too long, and perhaps let it come too close to boiling
Perhaps next time, I will focus on addressing some of these issues to see if they fix the waxy-film problem.
All in all, this was my most successful ice cream experiment so far, both in terms of the taste and quality of the ice cream. I’d say that I’m finally beginning to learn something here!

This looks really tasty!
LikeLike
Thanks for reading and commenting! It really came out great. Just visited Bi-Rite Creamery in San Francisco (where this recipe came from) this weekend, and I must say that it was a bit more rich and intense than my rendition.
LikeLiked by 1 person